|
I happened to come across this cute rainbow embossing folder for $1 at Michael's the other day, which inspired me to pull out my watercolors and perfect pearls to create this card: 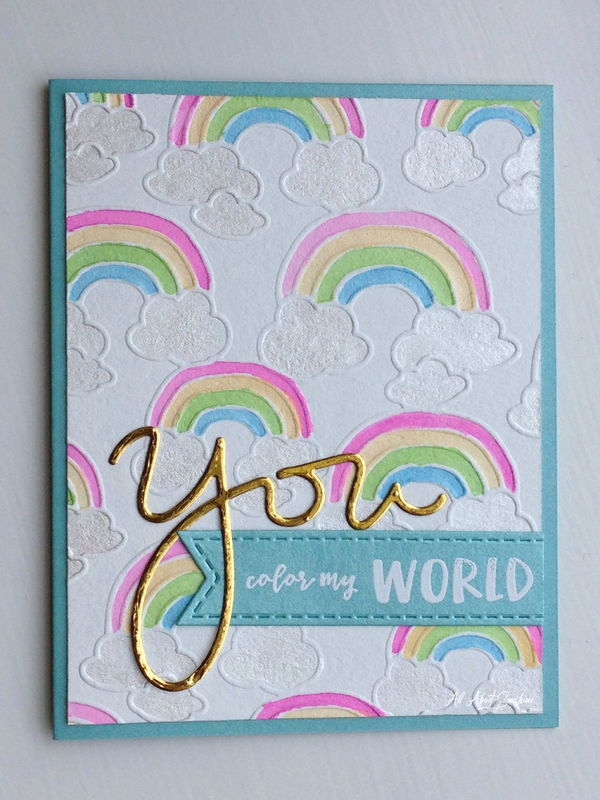 Supplies:
I used my Cuttlebug to emboss the rainbows onto watercolor paper. (Hint: If you have trouble with the embossing folder cutting through your paper, make sure you are using a heavyweight paper. Also, experiment with your "sandwich"...here's what worked well for me (top to bottom):
This was my first time to experiment with perfect pearls! I put a tiny bit on my paint palette and spritzed it with a small amount of water, then mixed it with my paintbrush. I used this mixture to color the clouds. Next, I wet my paper with a paintbrush and water to prepare for watercoloring. Since I had some perfect pearl/water mixture left, I combined it with my water colors (on my paint palette) to make them shimmery. To do this, simply wet your brush, pick up whichever color watercolor you want to use, then put it on your paint palette or surface mat and mix with a dab of your perfect pearls mixture. Repeat for each color. I cut my "you color my world" stamp to make the sentiment fit on one line, then I stamped with Versamark ink and heat embossed with super fine white embossing powder. The "you" is a lovely die by Simon Says Stamp. Normally I would have die cut some Heidi Swapp toner paper and foiled it gold myself, but I happened to have some gold foiled cardstock with Stick-it adhesive already adhered to it so I just went with that! Go ahead and try that tool or technique you've never done before!
0 Comments
Some friends of ours recently moved into their first house, so I decided to make them a "new home" card. I thought for sure I had some cute house themed products I could use to come up with a card design! I searched through my stamps... I searched through my dies... I couldn't find anything that matched what I had in mind. Finally, I discovered the Sizzix Door/Wreath Framelits set that I had recently purchased on sale at Hobby Lobby and decided that would have to work. 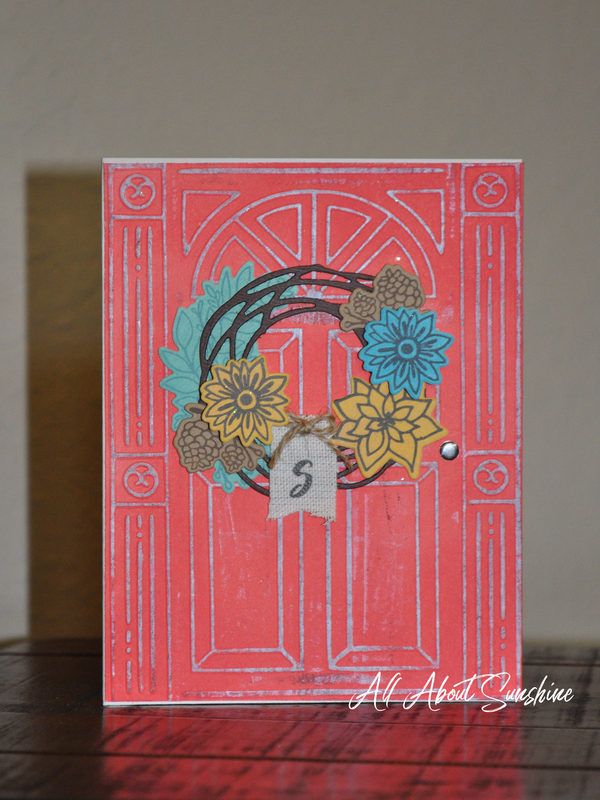 Supplies:
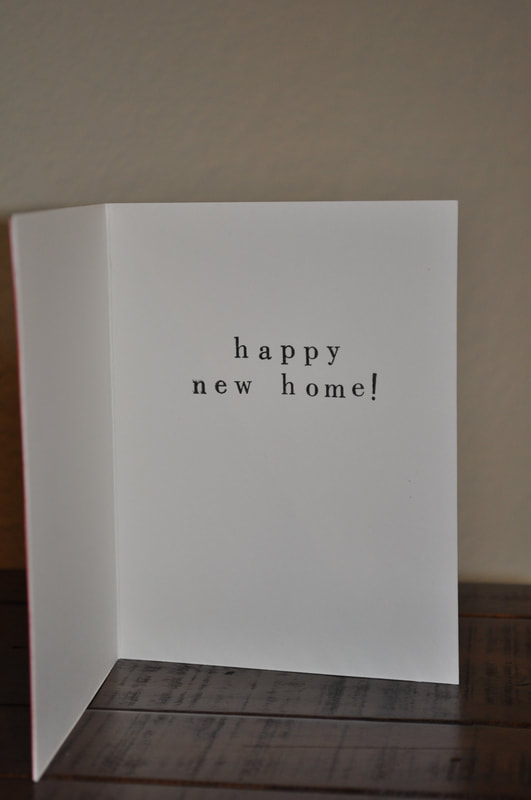
This card was started by applying Candied Apple Distress Oxide ink to the panel and then running it through the Cuttlebug machine inside the Sizzix door embossing folder. I then used the little brayer from my letterpress kit to ink up the raised portion of the door with Walnut Stain Distress Ink and then decided I preferred the Staz-on White ink. To make the wreath I die cut the wreath itself from dark brown cardstock. I inked up a plain piece of cardstock with Mermaid Lagoon, Fossilized Amber, and Evergreen Bough Distress Oxide inks to create custom color elements for the wreath. I stamped the flowers with Verafine Onyx Black ink, and I stamped with greenery with Lost Lagoon by Stampin' Up. The pine cones were stamped with Ranger Java Bean ink onto kraft cardstock. Time to die cut everything using the dies included in the Sizzix set! Waiting for the perfect opportunity to use this scrap piece of lightweight canvas, I was pleasantly surprised to see that the Mama Elephant Mini Tags die cut the material so nicely!! I stamped a small black "S" from the Kelly Creates stamp set and added a tiny twine bow to the wreath. Finally, I adhered a small metal embellishment from Hero Hues for the door knob, which gives it the perfect finishing touch! The Mason Row Pegz alphabet stamps make it a breeze to create a custom sentiment. Plus, the fact that I got these 75% off at the Hobby Lobby clearance sale makes them even better! Here's the inside of the card:
Supplies:
Have a wonderful day, and remember to celebrate all the special moments!
|
aboutAll About Sunshine is living in such a way that you shine brightly and spread joy to those around you. Giving is one of life's greatest pleasures, and I've found that giving something you made is even more heartfelt...not to mention, just plain FUN! Archives
November 2019
Categories |
 RSS Feed