|
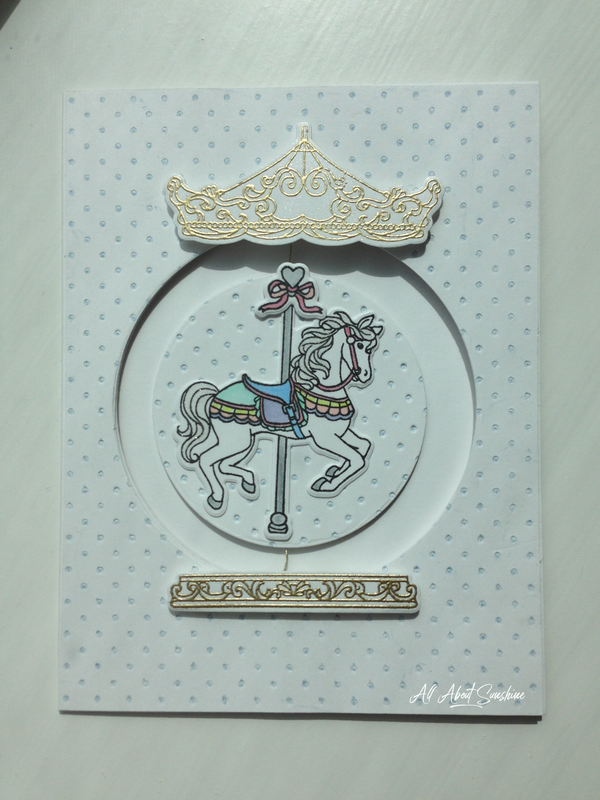
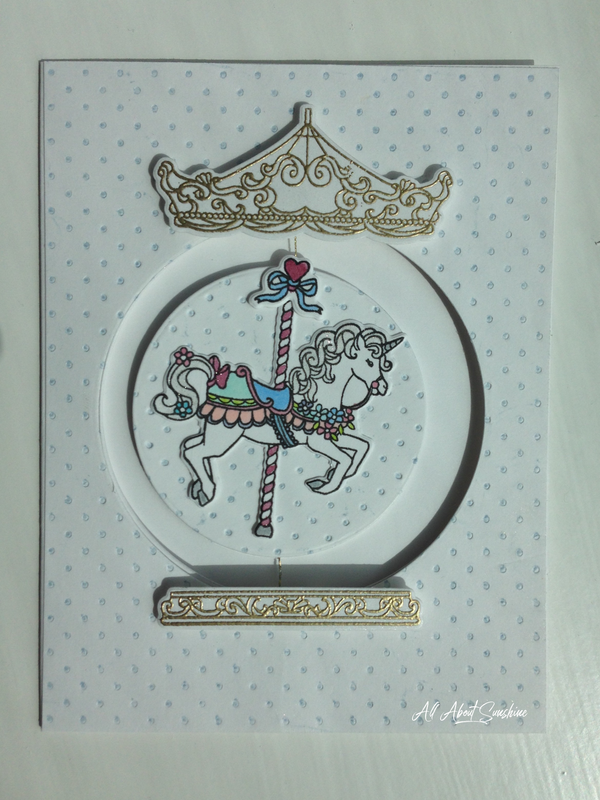
As soon as I saw this Ornate Carousel stamp set from Hero Arts I KNEW I had to make a spinner card! I have zero experience making spinner cards. But now that I've made one, it's so much fun and I can't stop spinning the carousel around and round! Compensated Affiliate Links are denoted below with an asterisk "*" at no cost to you. Other, non-Affiliate Links are also provided for your convenience! All supplies were personally purchased, and all opinions expressed are my own.
Supplies:
This is my very first spinner card, and since it was so easy and so much fun, I will be making more in the future! To begin, I die cut the horse and the unicorn and stamped the images with black ink. Next, I colored them in using pastel markers and some glitter brush markers. I decided to use the heart and bow carousel topper, so I die cut, stamped, and colored 2 of those as well. For the background, I inked up the Tiny Dots embossing folder with some light blue ink before running it through my Cuttlebug machine. I actually made two of these panels, since I needed 2 circles for my spinning element. I absolutely love the look of this "pin dot" background! Next, I needed to create an opening for my spinning element, so I die cut both the dots panel and my white card base with the medium stitched circle frame from My Favorite Things. I did not use the actual frame, only the negative space and the inside circle. I actually made two of the tiny dot panels, since I needed 2 matching embossed circles for my spinning element. I added adhesive to the back of one circle, laid down some of the gold thread, then placed the other circle on top, creating a sandwich of sorts. Be sure to leave enough extra string on both ends! Here was the hardest part...adding the spinning element to the card base! Tip: Place your string down THEN put the double sided adhesive on top! Unfortunately I put down adhesive on my base and then tried to get the thread to stick, but it wasn't working so well. The idea is to secure both ends of the string to the top and bottom of your card base while lining up the spinning element with it's window. After that you'll want to adhere the dots panel on top, again making a sandwich with the thread in the middle. (Guess I have sandwiches on the brain!) Once your spinner is in place you can adhere the horse and unicorn! To top it off (ha) I heat embossed the carousel top and base with Princess Gold embossing powder, die cut the pieces, spritzed them with sheer shimmer spray, then added them using foam squares. Simply twist your spinning element round and round several times, then tuck into an envelope and when the recipient pulls it out it will magically start spinning just like an actual carousel! :) Or, you could just spin it round and round with your finger, which is also quite entertaining. I hope you'll try making a spinner card soon! It's quite creative and puts a fun twist on your typical card. Have a fun day!
0 Comments
Your comment will be posted after it is approved.
Leave a Reply. |
aboutAll About Sunshine is living in such a way that you shine brightly and spread joy to those around you. Giving is one of life's greatest pleasures, and I've found that giving something you made is even more heartfelt...not to mention, just plain FUN! Archives
November 2019
Categories |


 RSS Feed