|
This is a quick, fun project for crafters of all ages! Tags can be used on a gift, as an embellishment, or as a part of your holiday decor. I placed this one on some twine using tiny clothespins, along with some instax mini summer memories, creating a cute little "gallery" in the living room. 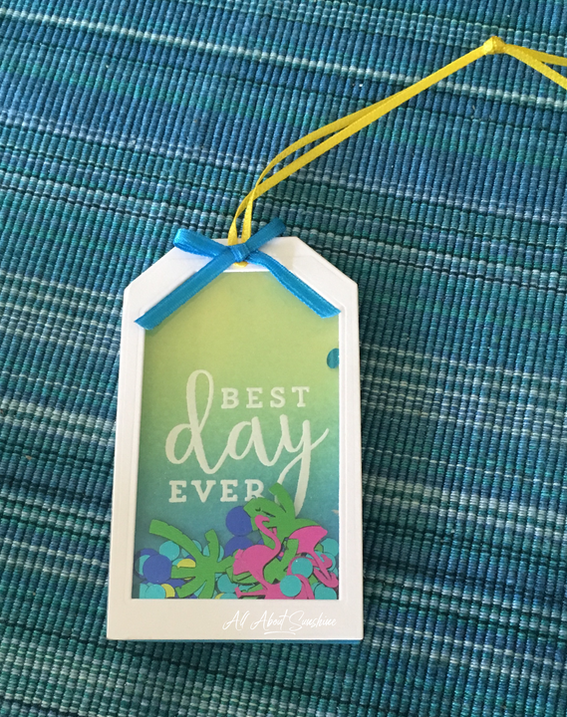 Supplies:
First, I die cut 2 small tags from white cardstock and 1 small tag from Grafix Clear Craft Plastic (thick acetate) using the Jumbo Nested Tag set. Next, I die cut a smaller tag out of one of the white cardstock tags. This creates a frame for the top of the shaker tag. Once you have your tag frame, use Be Creative tape to adhere the acetate to the inside of the frame. Next, place adhesive foam strips along the inside edges of the tag frame, being careful that all the pieces are touching so that there are no gaps. To create the base, stamp the sentiment and heat emboss with white embossing powder. Once dry, blend the distress oxide ink using the mini ink blending tool. TIP: I've found it helpful to have mini ink blending tools dedicated to each color of distress oxide ink; this way, my fingers are no longer stained blue and pink from changing out the foam when switching colors. ;-) I bought several during a super sale at Michael's. After blending, wipe with a dry cloth to remove ink from the white embossed image. Now it's time to fill the tag frame with shaker bits! The last step is to adhere your tag base to the tag frame. Adding some ribbon with glue is a great finishing touch. Try creating some small projects and hang them up to make a holiday gallery
depicting your fun summer adventures!
0 Comments
Love Cynthia has the cutest stamps ever! As soon as I purchased this Echo Park background stamp, I had the idea to ink it up with green, blue, and yellow to create the "outdoor" background. It turned out great! And it's the perfect backdrop for my Happy Girl. :) I'm excited to try other techniques and ideas using this background stamp. 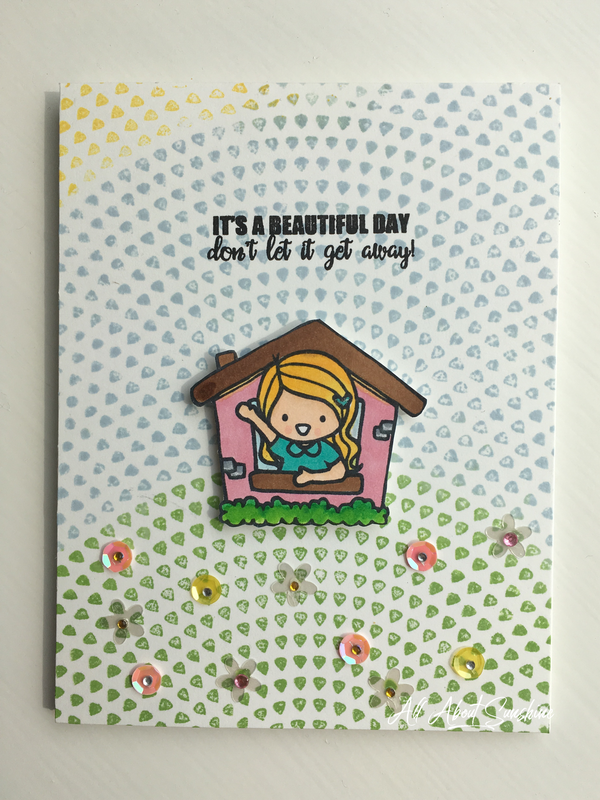 Compensated Affiliate Links are denoted below with an asterisk "*" at no cost to you. Other, non-Affiliate Links are also provided for your convenience! All supplies were personally purchased, and all opinions expressed are my own. Supplies:
First, I stamped out the background using green, blue, and yellow dye inks...not knowing exactly how my card was going to take shape. Then I decided to stamp my sentiment in Versafine black ink directly onto the card base. Next, I stamped my Happy Girl using Memento black ink, colored it with markers, and cut it out; foam squares give added dimension. Combining sequins and rhinestones are the perfect way to create a flower garden. Note: Love Cynthia's shop is on a short break, but will be re-opening VERY soon! She'll be introducing 7 new fabulous Happy Girl stamp sets as well! I'm so excited!! Grab one of your background stamps and try inking it up with different color combinations! Thanks for visiting and have a wonderful day!
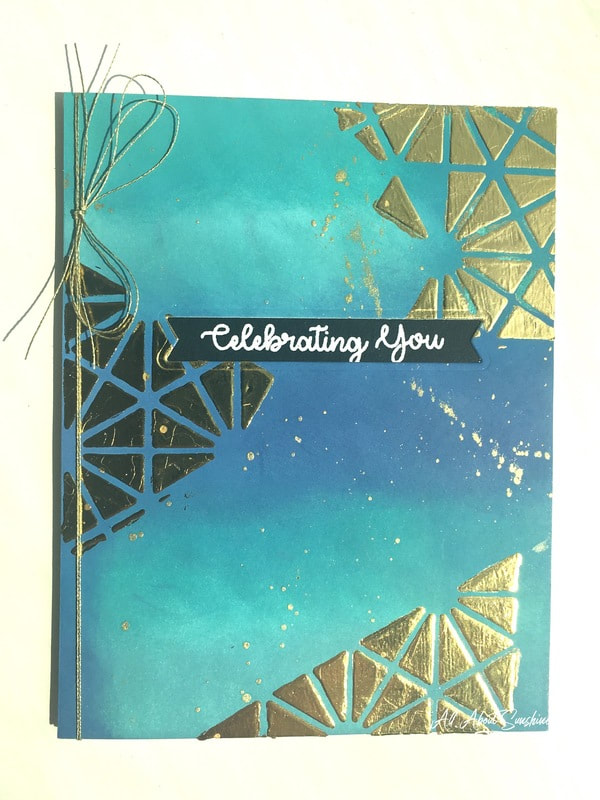
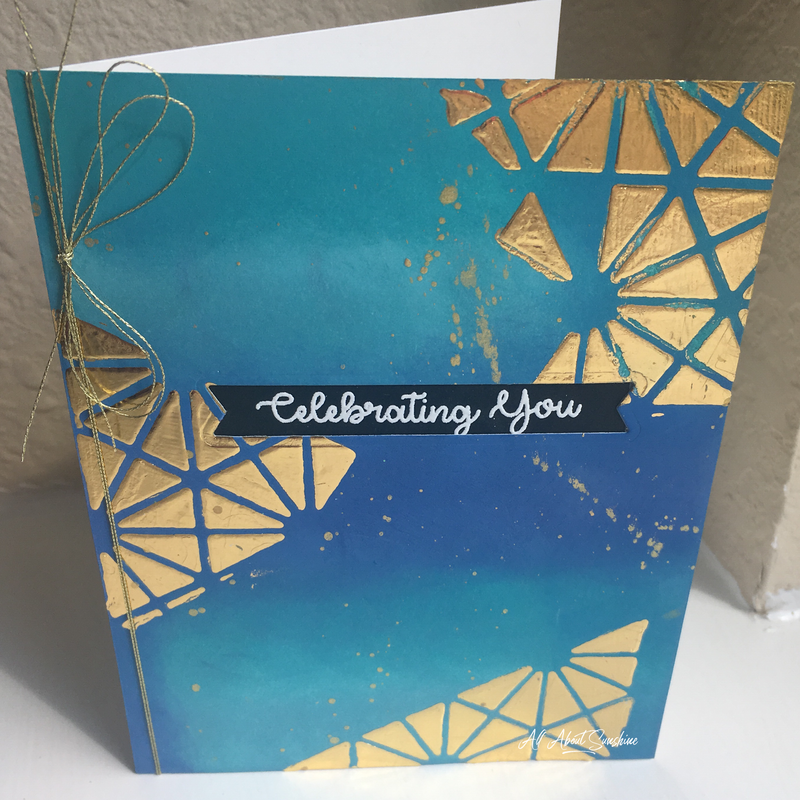
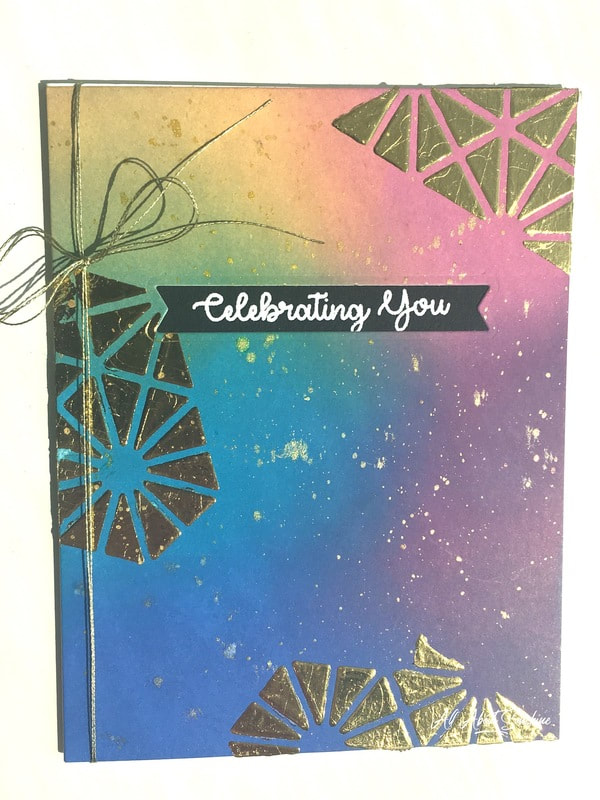
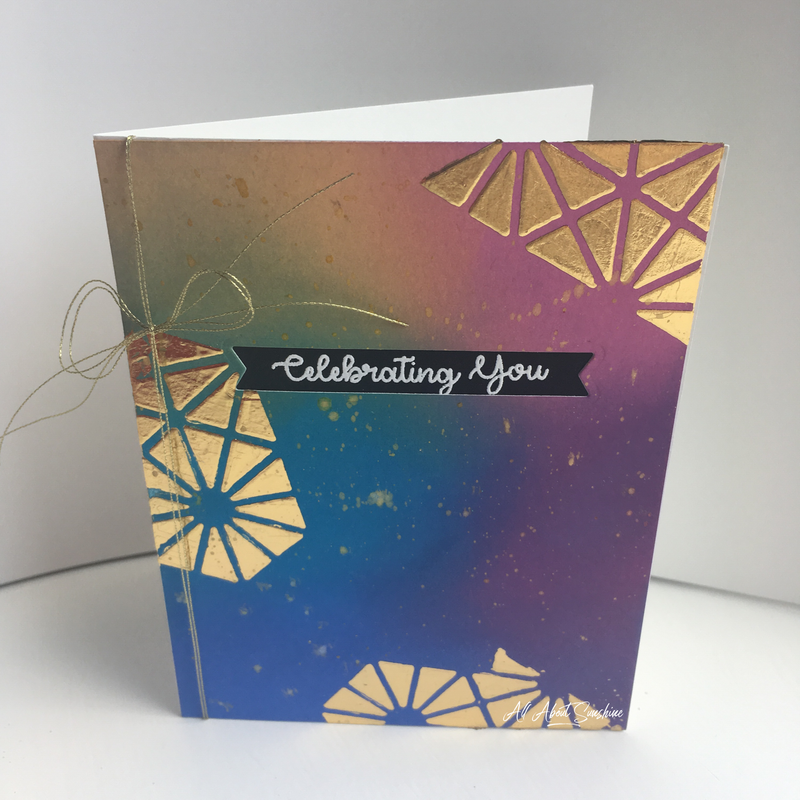
Hello, and welcome to another card idea! I recently purchased my very first background die (!), and decided to use it to make a stencil using some heavyweight cardstock. I love combining stencils with Heidi Swapp Texture Paste...then foiling with my Minc! The results are so beautiful, especially with the Distress Oxide blended backgrounds. Love those blues!!
Supplies:
Here is a similar card I made using rainbow colors:
This card uses the same supplies with the exception of the ink colors.
Thanks so much for visiting! I hope you'll try creating your own stencils!
The Love Jar shaker kit by Queen & co. is super cute! When they released matching dies for the stamp set from the kit I was beyond thrilled!!! I am not the fastest cutter... 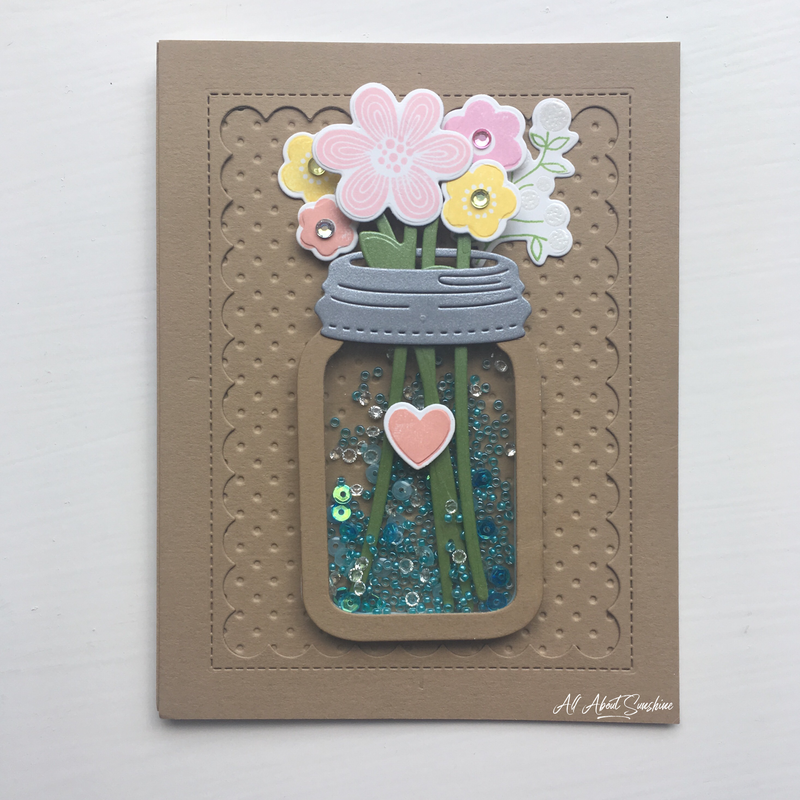 For this card I wanted to have the effect of water in the jar, so I used blue and clear shaker elements. It's so fun to shake, but I had to stop so I could get it in the mail! Compensated Affiliate Links are denoted below with an asterisk "*" at no cost to you. Other, non-Affiliate Links are also provided for your convenience! All supplies were personally purchased, and all opinions expressed are my own. Supplies:
Thanks for visiting! Have a lovely weekend!!
As soon as I saw this Ornate Carousel stamp set from Hero Arts I KNEW I had to make a spinner card! I have zero experience making spinner cards. But now that I've made one, it's so much fun and I can't stop spinning the carousel around and round! 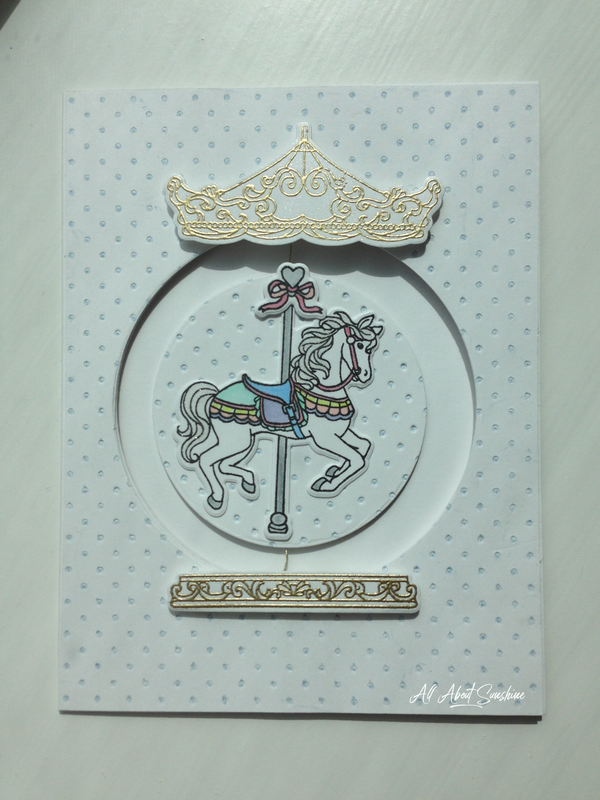 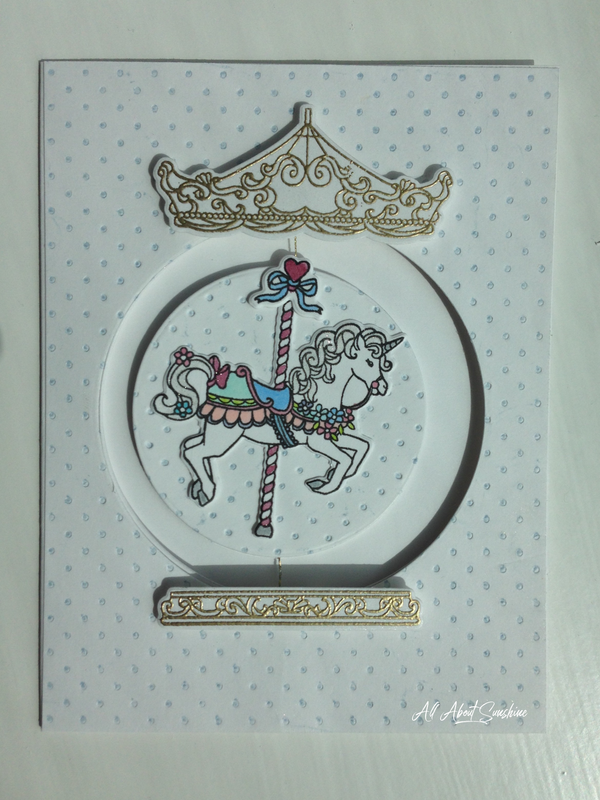 Compensated Affiliate Links are denoted below with an asterisk "*" at no cost to you. Other, non-Affiliate Links are also provided for your convenience! All supplies were personally purchased, and all opinions expressed are my own.
Supplies:
This is my very first spinner card, and since it was so easy and so much fun, I will be making more in the future! To begin, I die cut the horse and the unicorn and stamped the images with black ink. Next, I colored them in using pastel markers and some glitter brush markers. I decided to use the heart and bow carousel topper, so I die cut, stamped, and colored 2 of those as well. For the background, I inked up the Tiny Dots embossing folder with some light blue ink before running it through my Cuttlebug machine. I actually made two of these panels, since I needed 2 circles for my spinning element. I absolutely love the look of this "pin dot" background! Next, I needed to create an opening for my spinning element, so I die cut both the dots panel and my white card base with the medium stitched circle frame from My Favorite Things. I did not use the actual frame, only the negative space and the inside circle. I actually made two of the tiny dot panels, since I needed 2 matching embossed circles for my spinning element. I added adhesive to the back of one circle, laid down some of the gold thread, then placed the other circle on top, creating a sandwich of sorts. Be sure to leave enough extra string on both ends! Here was the hardest part...adding the spinning element to the card base! Tip: Place your string down THEN put the double sided adhesive on top! Unfortunately I put down adhesive on my base and then tried to get the thread to stick, but it wasn't working so well. The idea is to secure both ends of the string to the top and bottom of your card base while lining up the spinning element with it's window. After that you'll want to adhere the dots panel on top, again making a sandwich with the thread in the middle. (Guess I have sandwiches on the brain!) Once your spinner is in place you can adhere the horse and unicorn! To top it off (ha) I heat embossed the carousel top and base with Princess Gold embossing powder, die cut the pieces, spritzed them with sheer shimmer spray, then added them using foam squares. Simply twist your spinning element round and round several times, then tuck into an envelope and when the recipient pulls it out it will magically start spinning just like an actual carousel! :) Or, you could just spin it round and round with your finger, which is also quite entertaining. I hope you'll try making a spinner card soon! It's quite creative and puts a fun twist on your typical card. Have a fun day! My cousin recently tied the knot in Miami, so I made this card to coordinate with the tropical wedding theme. 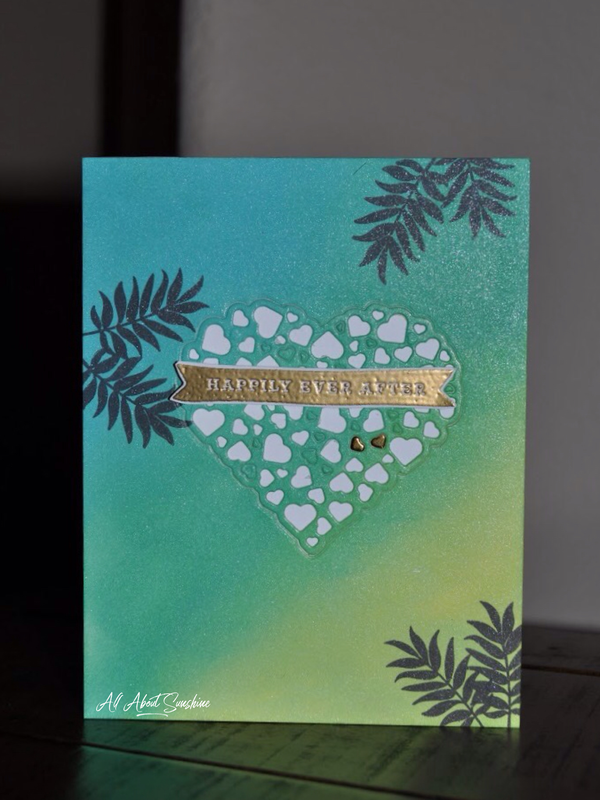 Compensated Affiliate Links are denoted below with an asterisk "*" at no cost to you. Other, non-Affiliate Links are also provided for your convenience! All supplies were personally purchased, and all opinions expressed are my own.
Supplies:
First, I blended the Distress Oxide inks then stamped the palm branches in black ink. Next I added Stick-it adhesive to the back of the panel and die cut with the Gina Marie Designs Heart Collage die. After weeding out most of the tiny hearts, I adhered both the panel and the heart to a card base that is 4.25"x5.5". I heat embossed the Happily Ever After sentiment using gold embossing powder, then fussy cut the image and adhered it to the card using foam squares. I finished the card off by adding 2 tiny foiled hearts leftover from a previous project, as well as spritzing some Sheer Shimmer spray from Tsukineko. The blended oxide inks look especially beautiful with that shimmer spray! This was actually one of my first times blending the oxide inks and it was so much fun! The various colors match up nicely and blend together beautifully. The mini ink blending tool makes blending super smooth and easy! I hope you'll give it a try! Next time you're invited to an event that requires a card, try making something that matches the theme of the event. Thanks for visiting, and have a fantastic day! Hello! This card is super special because I wanted to come up with a way to die cut custom shaker windows without the hassle of spilling my shaker elements while trying to align the shaker window with the card base. Plus, it has some really pretty foiling. :) 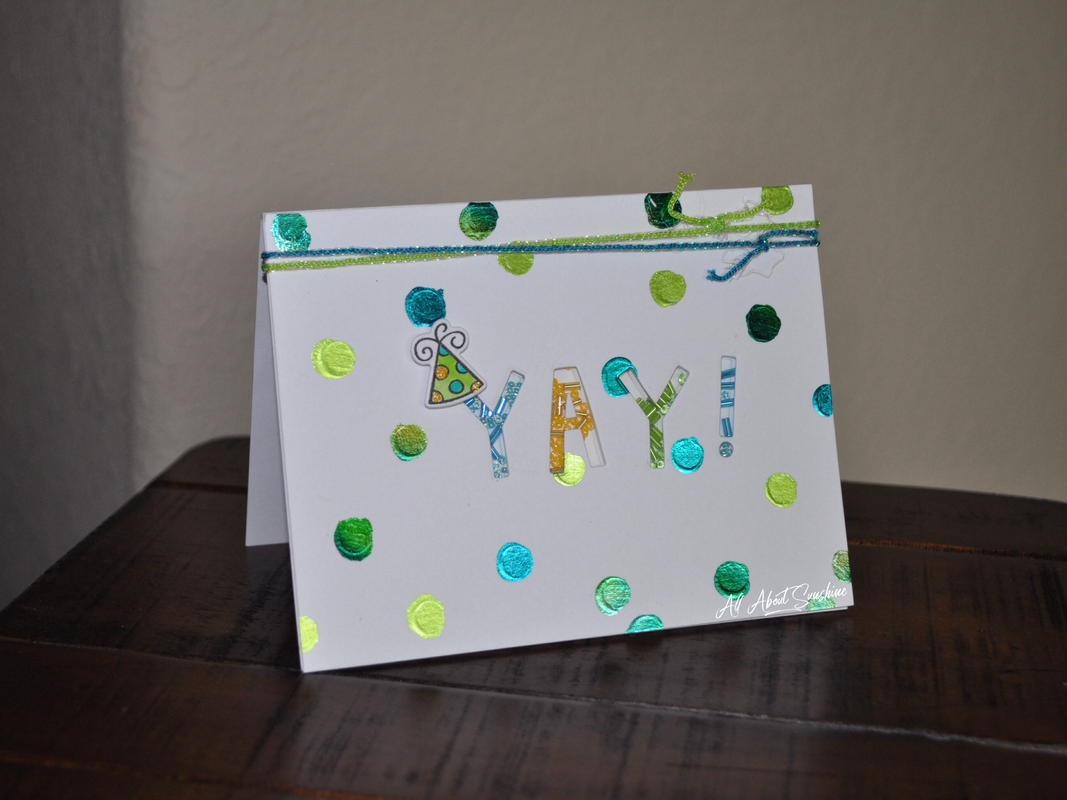 Watch the video below for step-by-step instructions and tips! Supplies:
PLEASE NOTE: I did not show the process of putting the foiled panel through the MINC, but please know that in order to achieve the look of this card you must run your panel through the MINC or a comparable machine to fuse the foil to the paper. Thanks for stopping by! Have a fantastic day! Ice cream is my fave, so when I saw this cute little stamp and mini die set at Michael's for $1 it made my day! Here's the card I designed using the set: 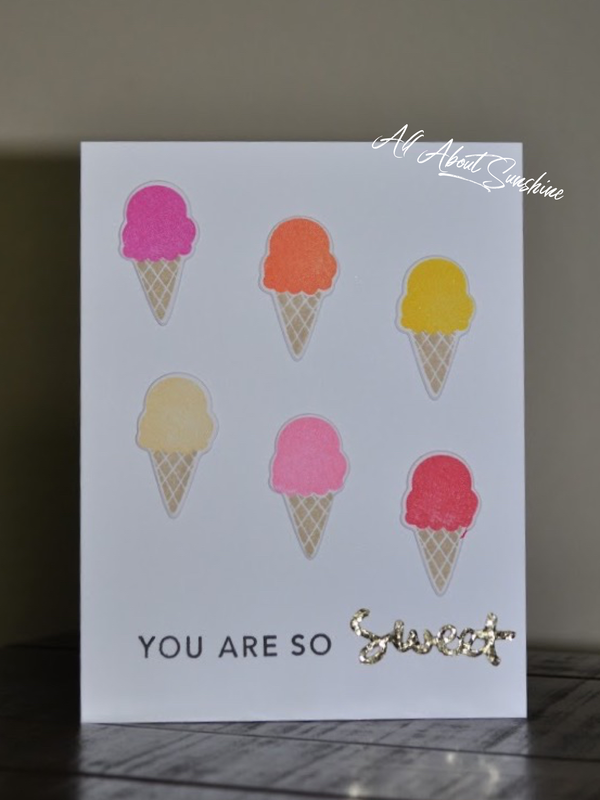 Compensated Affiliate Links are denoted below with an asterisk "*" at no cost to you. Other, non-Affiliate Links are also provided for your convenience! All supplies were personally purchased, and all opinions expressed are my own.
Supplies:
Ranger Dye Ink The Ranger dye inks are amazing, and I'm sad they are on clearance. However, you can still find most of the colors online (try Simon Says Stamp or Ellen Hutson for the ink pads and Scrapbook.com for the refills). I thought it would be nice to showcase the colors side by side so you can see how the actual ink colors compare. These inks produce a clear, crisp image right away, with vibrant colors, and that's what I love about these dye inks from Ranger! The one downfall to this ink is that it can be difficult to clean it off your stamp. I found that the Hero Arts Ultra Clean spray works best. Have a great week! I happened to come across this cute rainbow embossing folder for $1 at Michael's the other day, which inspired me to pull out my watercolors and perfect pearls to create this card: 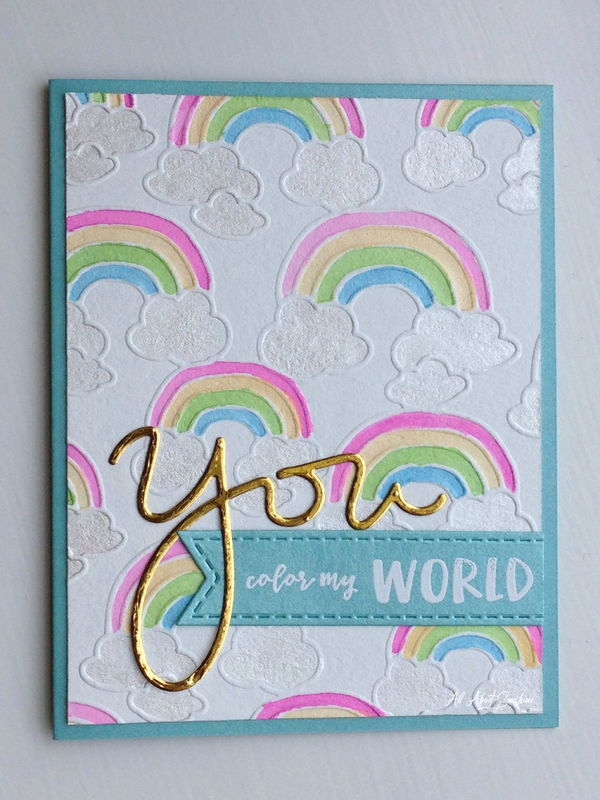 Supplies:
I used my Cuttlebug to emboss the rainbows onto watercolor paper. (Hint: If you have trouble with the embossing folder cutting through your paper, make sure you are using a heavyweight paper. Also, experiment with your "sandwich"...here's what worked well for me (top to bottom):
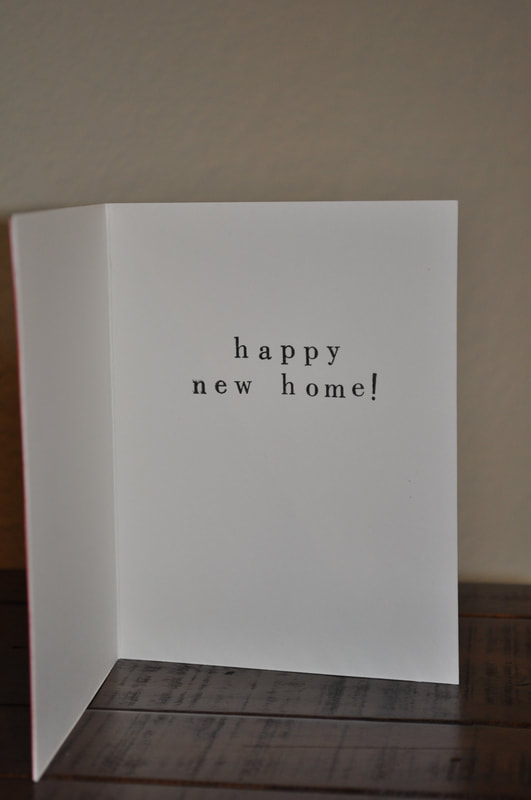
This was my first time to experiment with perfect pearls! I put a tiny bit on my paint palette and spritzed it with a small amount of water, then mixed it with my paintbrush. I used this mixture to color the clouds. Next, I wet my paper with a paintbrush and water to prepare for watercoloring. Since I had some perfect pearl/water mixture left, I combined it with my water colors (on my paint palette) to make them shimmery. To do this, simply wet your brush, pick up whichever color watercolor you want to use, then put it on your paint palette or surface mat and mix with a dab of your perfect pearls mixture. Repeat for each color. I cut my "you color my world" stamp to make the sentiment fit on one line, then I stamped with Versamark ink and heat embossed with super fine white embossing powder. The "you" is a lovely die by Simon Says Stamp. Normally I would have die cut some Heidi Swapp toner paper and foiled it gold myself, but I happened to have some gold foiled cardstock with Stick-it adhesive already adhered to it so I just went with that! Go ahead and try that tool or technique you've never done before! Some friends of ours recently moved into their first house, so I decided to make them a "new home" card. I thought for sure I had some cute house themed products I could use to come up with a card design! I searched through my stamps... I searched through my dies... I couldn't find anything that matched what I had in mind. Finally, I discovered the Sizzix Door/Wreath Framelits set that I had recently purchased on sale at Hobby Lobby and decided that would have to work. 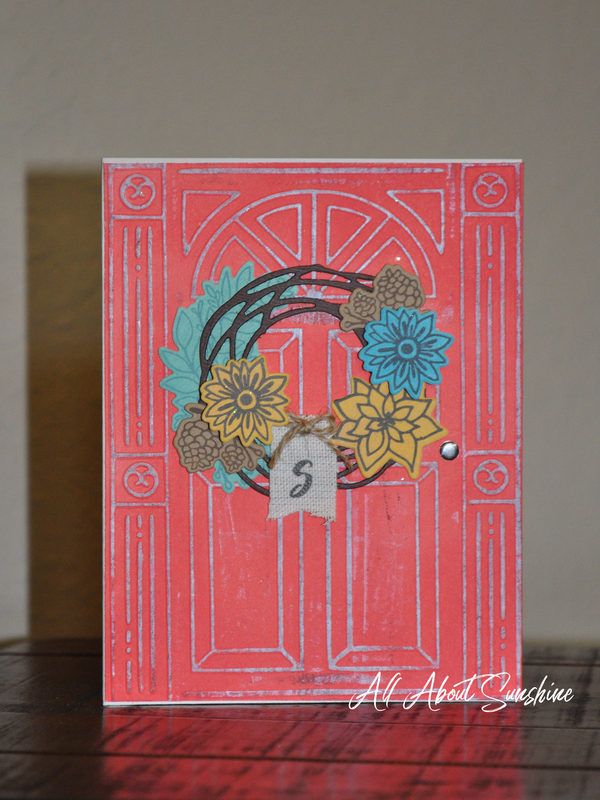 Supplies:
This card was started by applying Candied Apple Distress Oxide ink to the panel and then running it through the Cuttlebug machine inside the Sizzix door embossing folder. I then used the little brayer from my letterpress kit to ink up the raised portion of the door with Walnut Stain Distress Ink and then decided I preferred the Staz-on White ink. To make the wreath I die cut the wreath itself from dark brown cardstock. I inked up a plain piece of cardstock with Mermaid Lagoon, Fossilized Amber, and Evergreen Bough Distress Oxide inks to create custom color elements for the wreath. I stamped the flowers with Verafine Onyx Black ink, and I stamped with greenery with Lost Lagoon by Stampin' Up. The pine cones were stamped with Ranger Java Bean ink onto kraft cardstock. Time to die cut everything using the dies included in the Sizzix set! Waiting for the perfect opportunity to use this scrap piece of lightweight canvas, I was pleasantly surprised to see that the Mama Elephant Mini Tags die cut the material so nicely!! I stamped a small black "S" from the Kelly Creates stamp set and added a tiny twine bow to the wreath. Finally, I adhered a small metal embellishment from Hero Hues for the door knob, which gives it the perfect finishing touch! The Mason Row Pegz alphabet stamps make it a breeze to create a custom sentiment. Plus, the fact that I got these 75% off at the Hobby Lobby clearance sale makes them even better! Here's the inside of the card:
Supplies:
Have a wonderful day, and remember to celebrate all the special moments!
|
aboutAll About Sunshine is living in such a way that you shine brightly and spread joy to those around you. Giving is one of life's greatest pleasures, and I've found that giving something you made is even more heartfelt...not to mention, just plain FUN! Archives
November 2019
Categories |
 RSS Feed